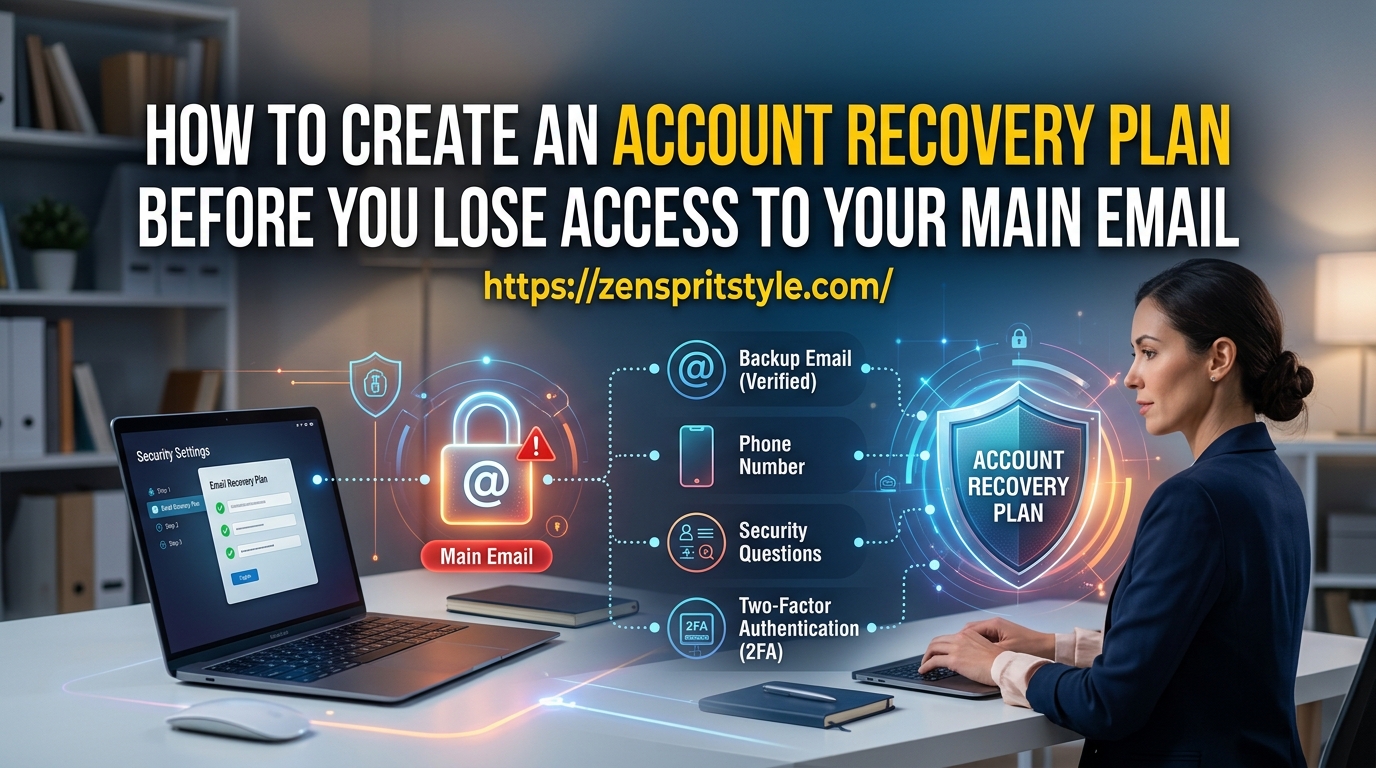
Your main email account is often more important than it appears.
It may be used to reset passwords, receive security alerts, store documents, manage cloud files, access shopping accounts, recover social media accounts, and verify your identity when another service detects a suspicious login.
That creates a problem.
If your main email becomes unavailable, the same address you normally use to recover other accounts may no longer be available to you.
A better approach is to prepare for that situation while you can still sign in.
The goal is not to collect as many recovery options as possible. It is to create a recovery path that still works if your primary email address, phone, password, or usual device becomes unavailable.
This guide explains how to build that plan, how to test it, and what mistakes can make an apparently useful recovery setup fail when you actually need it.
Start by Identifying What Your Main Email Controls
Before changing any settings, make a list of the accounts that depend on your main email.
You do not need to write down passwords.
Instead, identify the services where losing your email could create a serious problem.
These might include:
- your primary cloud account
- password manager
- banking and payment services
- shopping accounts
- social networks
- work or school accounts
- photo storage
- file storage
- subscription services
- government or other important online services
- accounts containing important personal information
The purpose of this list is to identify dependencies.
If your main email disappears tomorrow, which accounts would normally send a password-reset message to that address?
Those accounts deserve attention first.
Understand the Difference Between Recovery and Backup
These terms are easy to mix up.
A backup protects information.
A recovery method helps prove that you are the legitimate account owner and regain access.
For example, a backup copy of your photos does not help you recover an email account if you cannot authenticate to the account containing the backup.
Similarly, having a password written down somewhere does not necessarily solve the problem if the service requires a second verification method.
A good recovery plan therefore has several independent pieces.
Think of it as:
Primary sign-in → alternative verification → recovery information → emergency recovery method
You do not necessarily need every option offered by a service.
You need enough reliable options that losing one device, number, or email address does not leave you completely dependent on the same failed method.
Add a Recovery Email That You Can Actually Access
One of the simplest recovery improvements is adding a separate recovery email address.
Google’s current guidance specifically recommends using a recovery email that you use regularly and that is different from the email address you use to sign in to the Google Account.
That distinction is important.
If your main account is:
your recovery address should not simply be another setting that ultimately depends on access to the same mailbox.
The recovery address should be an account you can access independently.
Before relying on it, sign in to that recovery mailbox and make sure:
- you know its password
- its recovery options are current
- you can access it from another device
- it is not already abandoned
- it is not forwarding everything exclusively to the main email you are trying to protect
The last point is particularly important.
A recovery email that ultimately depends on the account you have lost does not provide much independence.
Add a Recovery Phone Number Where Appropriate
A recovery phone can provide another route when you cannot access your normal email.
Google says a recovery phone can help you get back into the account if you forget your password or lose access. Its guidance recommends using a mobile number that belongs only to you, that can receive text messages, and that you use regularly.
Do not add an old number simply because it is still displayed somewhere in your account settings.
Ask:
Can I actually receive a verification code on this number today?
If the answer is no, it should not be treated as a dependable recovery method.
Also remember that changing recovery information can have a delay before the new information becomes usable for some sensitive account actions. Google currently warns that a changed recovery phone may take up to seven days to become effective for certain purposes.
That is another reason to prepare before an emergency.
Do Not Make Your Main Email the Only Way to Recover Everything
This is one of the biggest weaknesses in many account setups.
Imagine that your main email is:
A
And every other account uses A as its recovery email.
If you lose access to A, you may suddenly lose the recovery route for B, C, D, E, and F as well.
You have created a dependency chain.
A better arrangement is to introduce another independent recovery path where appropriate.
For example:
Main email → recovery email + trusted phone
and important individual accounts may have their own additional recovery methods.
The exact options depend on the service.
The important principle is independence.
Review Two-Factor Authentication Before You Need It
Two-factor authentication can make an account significantly harder for someone else to access, but it also means you need to understand your own recovery process.
Look at the verification methods your important accounts currently use.
You might see:
- authenticator app
- passkey
- security key
- trusted device
- phone number
- recovery email
- backup codes
- another approved verification method
Do not simply turn on another security feature and assume the problem is solved.
Ask:
What happens if I lose my phone?
Then:
What happens if I lose access to my email?
Then:
What happens if both happen at the same time?
Those questions reveal weaknesses that are easy to miss during normal use.
Microsoft, for example, allows users to add multiple ways to verify a sign-in and currently lists options such as recovery email, Microsoft Authenticator, and passkeys; Microsoft also notes that SMS availability can vary as it phases out SMS for some authentication and recovery uses.
The exact options vary by provider, but the underlying lesson is useful: do not build your entire recovery plan around one verification channel.
Save Backup or Recovery Codes Safely
Some services provide one-time recovery or backup codes.
These are particularly valuable if your normal second-factor method becomes unavailable.
Microsoft, for example, provides a 25-digit recovery code for its accounts and advises keeping it in a safe place. Microsoft also warns that generating a new recovery code invalidates the previous one.
The exact system differs between services.
Whatever system you use, treat these codes as sensitive account credentials.
Do not:
- post them online
- send them to someone asking for them
- store them in a public document
- leave them in an unsecured shared note
- assume an old set of codes is still valid after generating a new set
A practical approach is to store recovery information somewhere that remains accessible if your primary phone becomes unavailable.
For highly important accounts, consider maintaining a secure offline copy where the provider’s instructions permit it.
Be Careful About Where You Store Recovery Information
This is where a recovery plan can accidentally become circular.
Suppose you save your recovery codes inside an account that you can access only through your main email.
If the main email becomes unavailable, you may also lose the recovery codes.
Similarly, storing every recovery method exclusively on one phone creates a single point of failure.
Your recovery plan should survive at least some realistic failures.
For example:
Lost phone
Broken phone
Forgotten password
Lost access to primary email
Lost access to an authenticator
Changed phone number
You don’t need a complicated disaster-recovery system.
You simply need to identify the things that could fail together.
Consider a Trusted Recovery Contact When the Service Supports One
Some account providers now offer trusted recovery contacts.
Apple provides an Account Recovery Contact feature that allows a trusted person to help you regain access if you forget your Apple Account password or lose access to a device. The recovery contact does not gain access to your account; instead, they can provide a recovery code during the recovery process.
Google also currently provides recovery contacts for eligible personal Google Accounts. Google says a recovery contact can help when you cannot sign in, but there is a waiting period before the contact can be used for recovery.
That waiting period is an important detail.
Do not add a recovery contact for the first time after you are already locked out.
Set it up while the account is accessible.
Choose someone you genuinely trust.
A recovery contact should not be someone who can casually access your account. The purpose is to provide the specific recovery assistance allowed by the service, not to share your password.
Check Whether You Have a Recovery Key
Some services offer a recovery key as an additional security mechanism.
Apple, for example, offers an optional Recovery Key for Apple Accounts. Apple says the key is a secret 28-character code that can be used with a trusted phone number and Apple device to recover the account. Apple also warns that enabling a Recovery Key changes the standard account-recovery process, making the key itself extremely important.
This is not a feature you should enable casually.
A recovery key can strengthen control over an account, but it can also introduce another thing you must protect.
Before enabling such a feature, read the provider’s current documentation and understand what happens if you lose the key.
The general rule is:
Never activate an advanced recovery mechanism without understanding its failure mode.
Review Your Trusted Devices
Your account may already recognize certain phones, tablets, computers, or security devices.
Review them.
Remove devices you no longer own or use when the provider gives you that option.
This matters for two reasons.
First, an old device might still provide account access.
Second, a trusted device you still own can sometimes become an important recovery method.
For example, if your main email is unavailable on your computer but your account remains signed in on a trusted phone, that device may provide an alternative route to account-management or recovery settings, depending on the service.
Do not assume that every provider treats trusted devices identically.
Check the actual account security settings.
Review Your Authenticator Setup
If you use an authenticator application, determine what happens if your phone disappears.
Some authenticator systems support synchronization or account-based recovery. Others require a specific transfer process.
The important question is not:
“Do I have an authenticator app?”
It is:
“Can I recover the authenticator accounts if this phone is lost?”
For important accounts, look at their official instructions now.
If the service provides backup codes, recovery keys, passkeys, security keys, or another recovery mechanism, make sure you understand how those options work before you need them.
Check Your Phone Number Before Changing Carriers
A phone number can become part of an account’s security system.
If you are planning to change carriers, replace a SIM, cancel a number, or move to another country, review which accounts still depend on that number.
Do this before the number disappears.
Do not wait until a login screen says:
“Enter the code we sent to your old number.”
If you are replacing a number that is used for account recovery, update the affected accounts while you still have access.
Google notes that phone numbers can serve different purposes on an account and that a new number may take time before it can be used for certain sensitive verification actions.
Create a Recovery Inventory
You do not need to document every online account you have ever created.
Focus on important accounts.
A simple private inventory can record:
Account
What service is it?
Recovery email
Which independent email can receive recovery messages?
Recovery phone
Which current number is associated with the account?
Two-factor method
Authenticator, passkey, security key, etc.
Emergency method
Backup code, recovery key, trusted contact, or provider-specific recovery process.
Last checked
When did you verify that the recovery method still worked?
Do not put passwords or secret recovery codes into an ordinary spreadsheet just because the spreadsheet is convenient.
The inventory should tell you where your recovery mechanisms are, not become a list of secrets that an attacker could use if the file were stolen.
Test the Recovery Plan Without Locking Yourself Out
This is one of the most important steps.
You should verify that your recovery information is current, but you should not deliberately lock yourself out of an important account just to test it.
Instead, perform safe checks.
For example:
- confirm the recovery email is accessible
- confirm the phone number is current
- confirm your authenticator works
- confirm your passkey is available
- confirm your recovery contact has accepted the invitation
- confirm backup/recovery codes are stored safely
- review recognized devices
- run the provider’s security checkup
Google’s Security Checkup can provide personalized security recommendations, including reviewing recovery options.
The goal is to identify broken recovery paths without creating an unnecessary account lockout.
Pay Attention to Recovery Changes That Take Time
Account security settings are not always instantaneous.
This is particularly important when you are trying to prepare shortly before a planned change.
Google says changing recovery information or other authentication factors can result in codes being sent to previous information for seven days, and some recovery-phone changes can take up to seven days to become effective for certain actions.
That means account recovery planning should be done well before you need it.
If you are about to:
- replace your phone
- change your number
- leave a job
- lose access to a school account
- close an old email address
- travel for an extended period
- change your primary email
review recovery options first.
If Your Main Email Is a Work or School Account
This requires extra caution.
A work or school mailbox may not belong to you personally.
When employment or enrollment ends, your access may be removed.
Google explicitly notes that recovery-option instructions can differ for work, school, or group-managed accounts and recommends contacting the administrator when appropriate.
Microsoft likewise notes that losing access to a work or school email can affect account verification information.
Do not assume that a company or school mailbox will remain available forever.
If personal accounts use that address as their recovery email, update them before your organizational access ends.
This is one of the most important preventive checks for anyone who has accumulated years of personal accounts around a work or school address.
What to Do If You Already Lost Access
If you are already locked out, the strategy changes.
Do not repeatedly guess passwords or follow recovery links from random websites.
Go directly to the official account provider’s recovery process.
For example, Microsoft says its recovery process may ask for information that only the account owner should know and recommends using a previously used device and familiar location where possible.
Microsoft also warns that when two-step verification is enabled and none of the alternate verification methods are available, its support agents may not be able to bypass those protections.
This is why preparation matters.
Recovery systems are intentionally designed to resist unauthorized access.
You should not expect customer support to simply remove security protections because you say that you own the account.
Avoid “Recovery Services” That Ask for Your Password
If you lose access to an email account, you may encounter people or websites claiming they can recover it for you.
Be careful.
Do not give your password, authentication code, recovery key, or backup codes to someone who claims they can bypass the provider’s recovery system.
Start from the official provider website or app.
A legitimate recovery process should not require you to hand your secret credentials to an unrelated person.
Build the Plan Around Failure, Not Convenience
A useful recovery plan asks:
What if my phone is lost?
What if my main email is unavailable?
What if my phone number changes?
What if I forget my password?
What if my authenticator is unavailable?
What if I lose access to one recovery method?
What if two of these happen together?
You don’t need to solve every imaginable disaster.
Concentrate on the failures most likely to happen in your situation.
For many people, the biggest weakness is surprisingly simple:
Their recovery email is an old address they no longer use.
Or:
Their recovery phone belongs to a number they cancelled years ago.
Or:
Their backup codes are stored on the same phone they just lost.
Those are not sophisticated hacking scenarios.
They are maintenance problems.
A Practical Account Recovery Checklist
Before you consider your recovery plan complete, check:
- I know which email account is my primary account.
- I know which important accounts depend on it.
- My recovery email is current and independently accessible.
- My recovery phone number is current.
- I can actually receive verification messages where applicable.
- I understand my two-factor authentication method.
- I know what happens if I lose my authentication device.
- Important backup or recovery codes are stored securely.
- I know where any recovery key is stored.
- Trusted recovery contacts are configured where appropriate.
- My trusted devices are reviewed.
- Old devices and obsolete recovery methods have been removed where appropriate.
- Personal accounts no longer depend unnecessarily on an old work or school email.
- I have reviewed the provider’s official recovery instructions.
- I know how to start the legitimate recovery process if access is lost.
Review the Plan Every Few Months
A recovery plan is not something you configure once and forget.
Phone numbers change.
People stop using old email addresses.
Devices are replaced.
Work and school accounts disappear.
Authenticator apps change.
Recovery contacts may no longer be appropriate.
Set a reminder to review important accounts periodically.
You do not need to perform a complete security audit every week.
A short review every few months is enough to catch obvious problems.
Also review the plan whenever something important changes, such as getting a new phone or changing your primary email.
Final Takeaway
Your main email should not be the only door into your digital life.
A good recovery plan gives you more than one legitimate way to prove that you own an account. That might include a current recovery email, a suitable phone number, an authenticator or passkey, recovery codes, a trusted device, a recovery contact, or another method provided by the service.
The exact combination depends on the account.
The important part is independence.
If your main email disappears, you should not discover at that moment that your recovery email also depends on it, your recovery phone is an old number, and your backup codes are sitting inside the mailbox you cannot open.
Build the recovery path while everything still works.
Then check it periodically.
That few minutes of preparation can make the difference between a manageable account recovery and a long, frustrating attempt to prove that an account really belongs to you.
Sources and Further Reading
- Google Account — Set up recovery options
- Google — Add a recovery email address
- Google — Add a recovery phone number
- Google — Security Checkup
- Google — Recovery contacts
- Microsoft — Account security information and verification methods
- Microsoft — Account recovery form guidance
- Microsoft — Recovery codes
- Apple — Apple Account security and recovery
- Apple — Account Recovery Contact
- Apple — Recovery Key
FAQs
What is the most important thing to add to an account recovery plan?
There is no single recovery method that is best for every account. Start by making sure your recovery information is current and independently accessible. For Google, for example, the provider recommends a recovery email that is different from the primary sign-in address and a recovery phone that belongs to you and that you regularly use.
Should my recovery email be another Gmail or Outlook account?
It can be, provided you can access it independently of the account it is protecting. The important consideration is not the brand of email service but whether losing access to your main account would also prevent you from accessing the recovery address.
Where should I store backup codes?
Store them somewhere secure that remains accessible if you lose your main phone or email account. Follow the specific provider’s instructions. Microsoft, for example, advises keeping its recovery code in a safe place and specifically says not to store it on a device used to sign in to the account.
Should I use a recovery contact?
If your account provider offers the feature and you have someone you genuinely trust, it can be useful. Apple and eligible Google accounts currently support recovery-contact features with specific rules and waiting periods.
What happens if I lose access to my main email before setting up recovery options?
Use the provider’s official account-recovery process. Do not rely on third-party “account recovery” services or give your password, authentication codes, or recovery keys to someone claiming they can bypass the provider’s security.
How often should I check my recovery information?
A practical approach is to review important accounts every few months and whenever you change your phone number, primary email, phone, authenticator, workplace, or school account. Recovery information is only useful if it still works when you need it.